
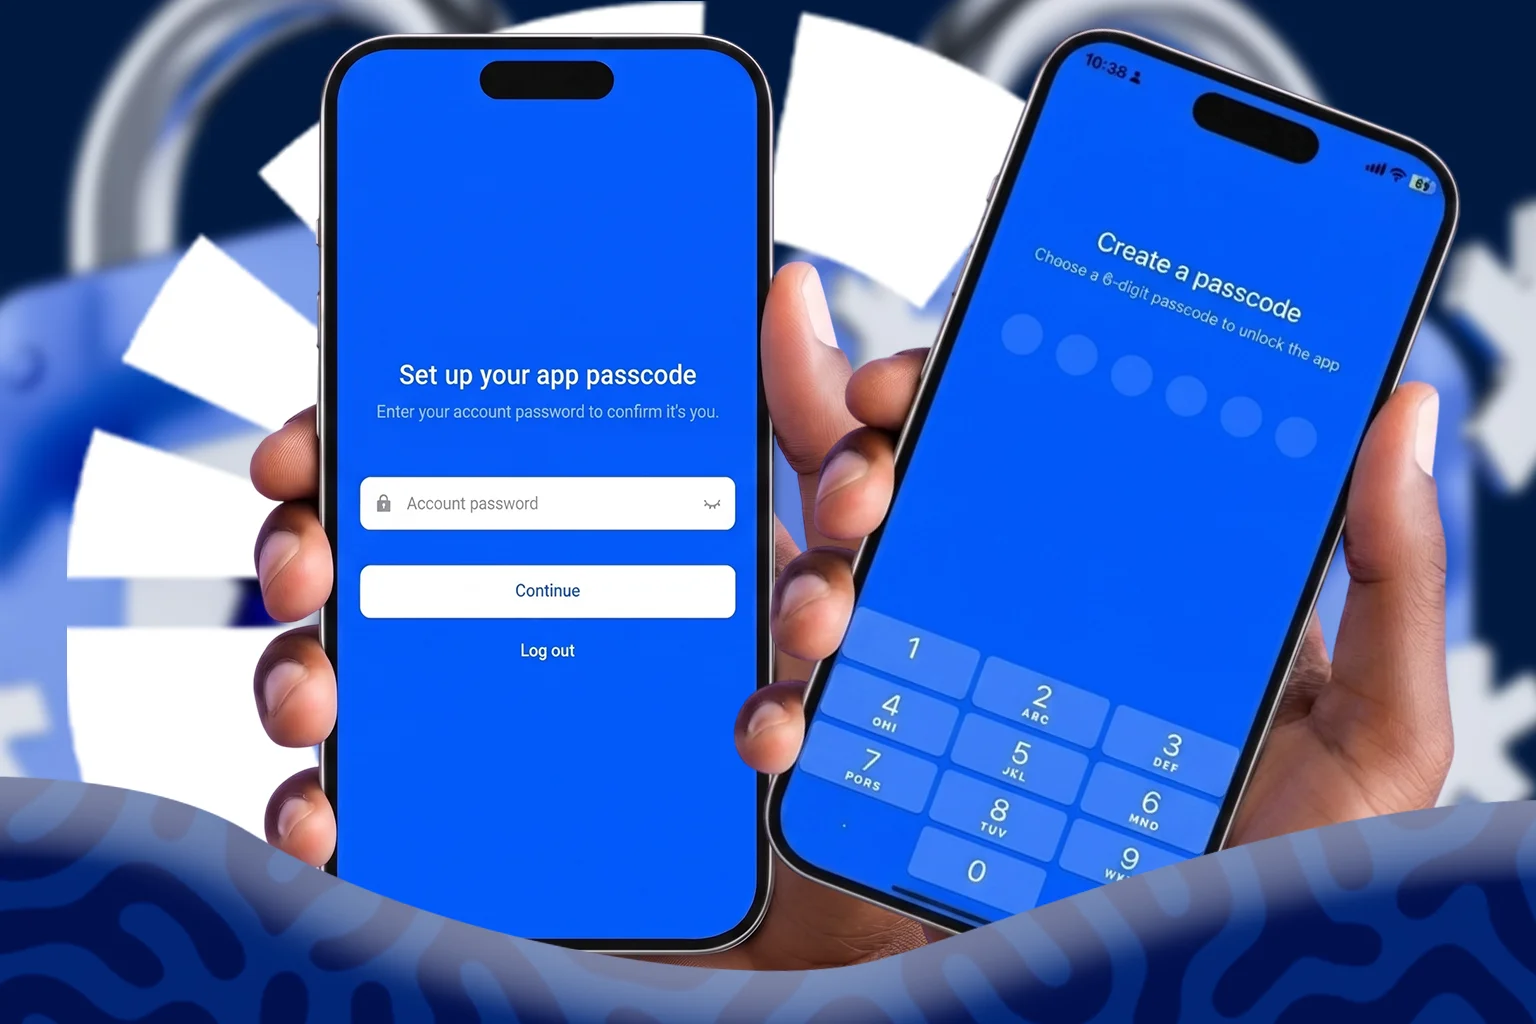
Keeping your Clea account secure is important. We recommend setting up an app passcode and enabling Face ID or biometric unlock to add an extra layer of protection while making it quicker and easier to access the app. Your app passcode helps prevent unauthorised access, while Face ID or your fingerprint lets you unlock the app securely with a glance or touch.
In this guide, we’ll show you how to set up a passcode, enable Face ID or biometric unlock, and troubleshoot common setup issues.
Before you begin, make sure you’re using the latest version of the Clea app from the App Store or Google Play Store.
Set Up Your Passcode
Step 1: Open Your Account Settings
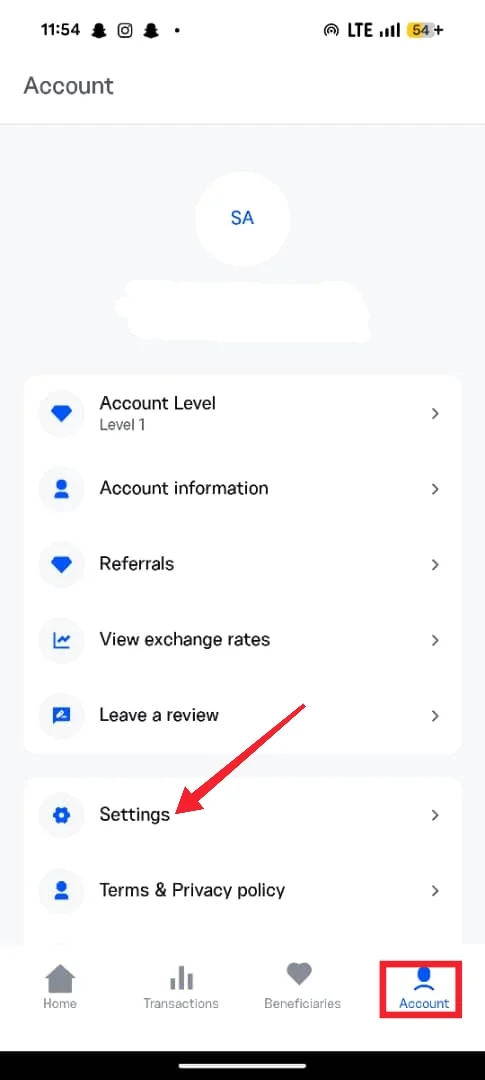
Launch the Clea app to sign in. Tap on Account, then select Settings.
Step 2: Choose the Security Option
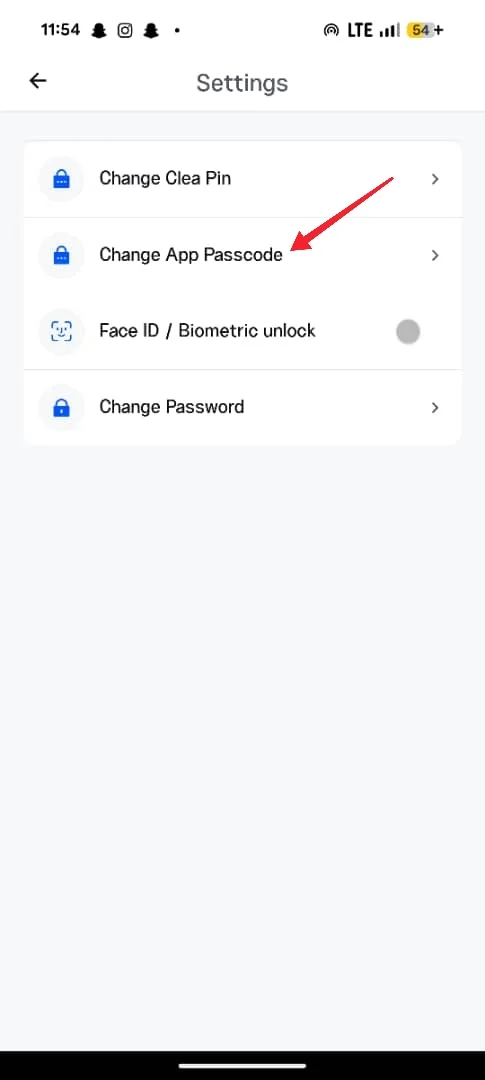
From the settings menu, select Change App Passcode to begin the setup process.
Step 3: Verify Your Identity
Enter your current Clea account password when prompted. This helps us confirm it’s you before making changes to your app security.
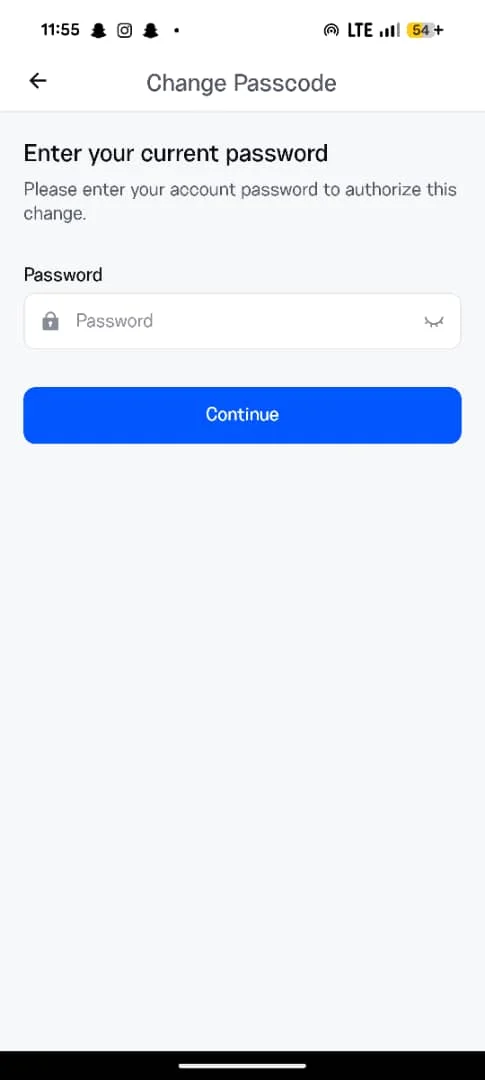
If you don’t remember your password, reset your password before continuing.
Step 4: Create Your Passcode
Enter a 6-digit code that you’ll be able to remember. For your security, avoid using easy-to-guess combinations such as 123456, 000000, or your date of birth.

Step 5: Complete the Set Up
Input the same 6-digit passcode again to save the code.
Once complete, your app passcode is active and will be required whenever you open the Clea app.
Set Up Face ID or Biometric Unlock
Step 1: Open Settings
In the Clea app, tap Account, then select Settings.
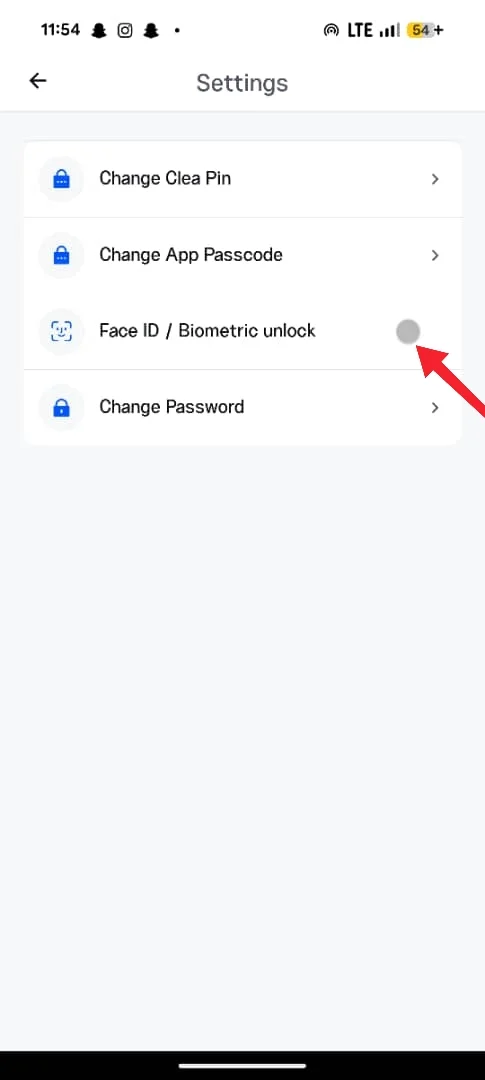
Step 2: Turn on Face ID/Biometric Unlock
Locate Face ID/Biometric Unlock and switch the toggle On.
Step 3: Verify Using Your Device
If Face ID or fingerprint authentication has already been set up on your phone, your device will prompt you to verify your identity using your registered Face ID or fingerprint.
Step 4: You’re All Set
Once setup is complete, you’ll be able to unlock the Clea app using Face ID or your fingerprint instead of entering your app password or code each time.
Haven’t Set Up a Face ID or Fingerprint on Your Device Yet?
Face ID and biometric authentication must first be enabled in your phone’s settings before they can be used in the Clea app.
For iPhone
If Face or Touch ID hasn’t been set up on your iPhone yet, you’ll need to do this in your device settings. Follow Apple’s guide to set up Face ID or set up Touch ID.
After completing the setup, return to the Clea app and turn on Face ID/Biometric Unlock.
For Android
- Open your phone’s Settings.
- Go to Security & Privacy (this name may vary depending on your device manufacturer).
- Tap Device unlock.
- Choose either Fingerprint or Face Unlock.
- Follow the on-screen instructions to register your fingerprint or face.
- Return to the Clea app.
- Go to Account, then Settings.
- Toggle on Face ID/Biometric Unlock.
Frequently Asked Questions
What happens if I forget my passcode?
Simply tap on Forgot Passcode and sign in using your account password.
I got a new phone. Do I need to set this up again?
Yes. Face ID and fingerprint data don’t transfer between devices. Once you’re signed into Clea on your new device, repeat the setup steps above to register your biometrics.
What if my phone doesn’t support Face ID or fingerprint unlock?
You can still use the 6-digit passcode as your login method. It offers the same level of security to your Clea account.