
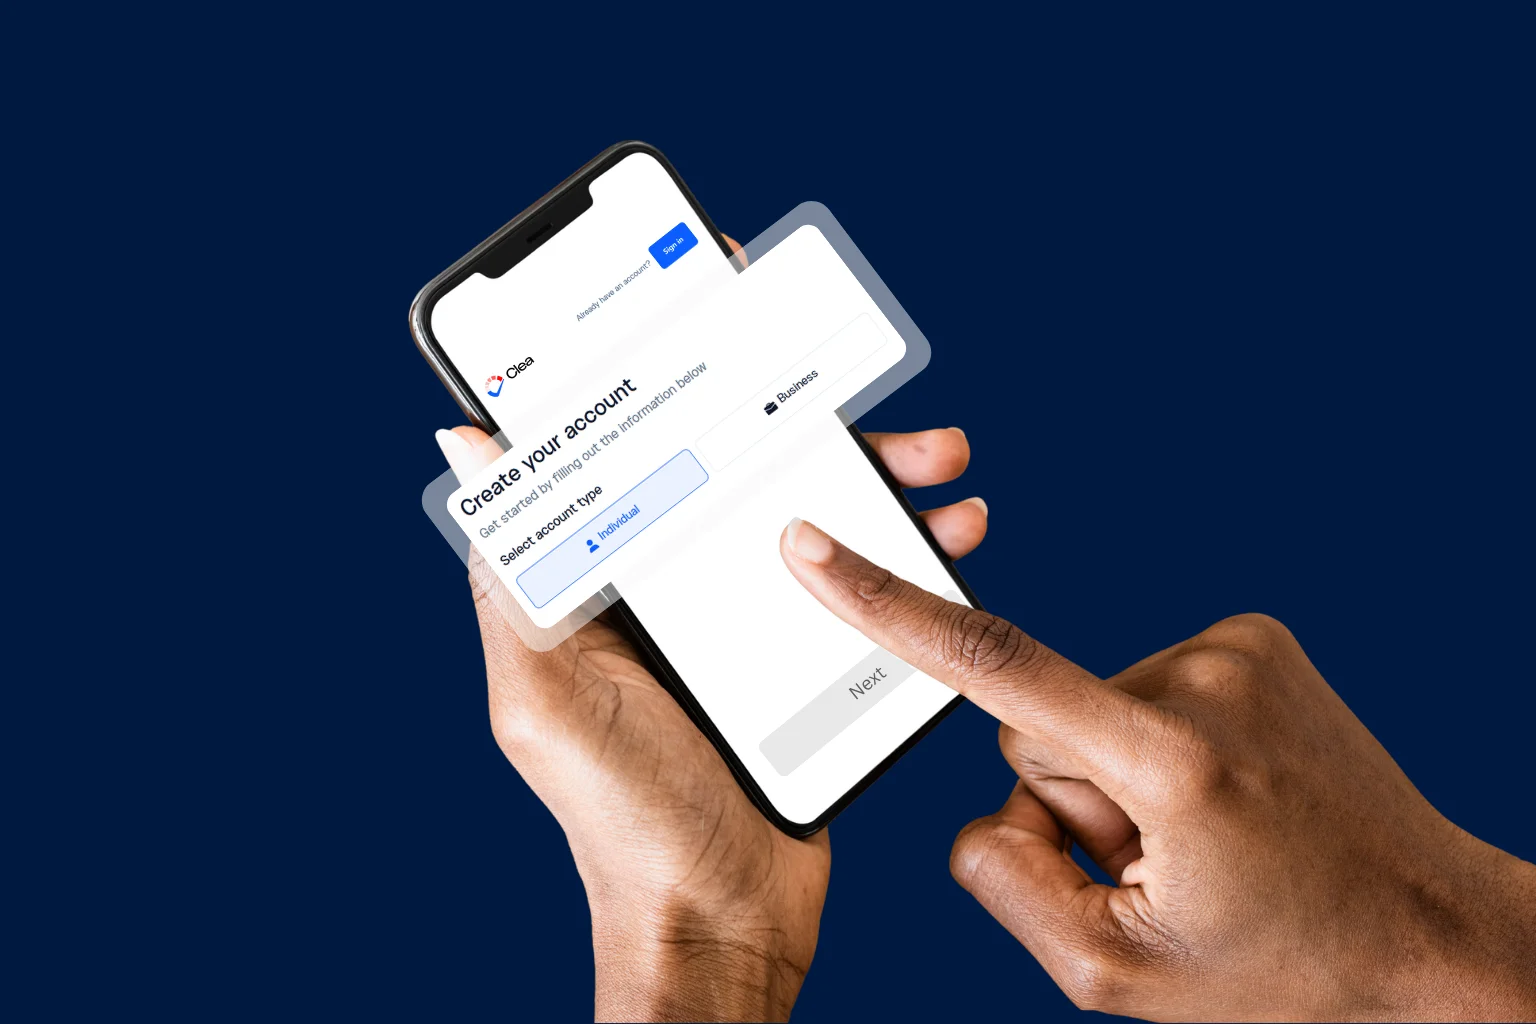
Setting up your individual account after downloading Clea is straightforward. The information you provide here is what Clea uses to verify you and process your payments without issues.
Before you begin, the registration process includes a KYC (Know Your Customer) verification. KYC is how Clea verifies your identity, and it’s a required step before your account is fully activated. You won’t be able to make payments or access Clea’s services until your KYC is reviewed and approved, so it’s best to have everything ready before you start.
Here’s what you’ll need:
- Your government-issued ID – either an international passport or your NIN slip/card
- Your BVN (Bank Verification Number)
- A proof of address – utility bill, bank statement, or lease agreement dated within the last 3 months
All uploaded documents should be clear, well-lit photos (not scanned copies), in PNG, JPEG, or PDF format.
With that sorted, let’s walk through the registration.
Step 1: Getting started
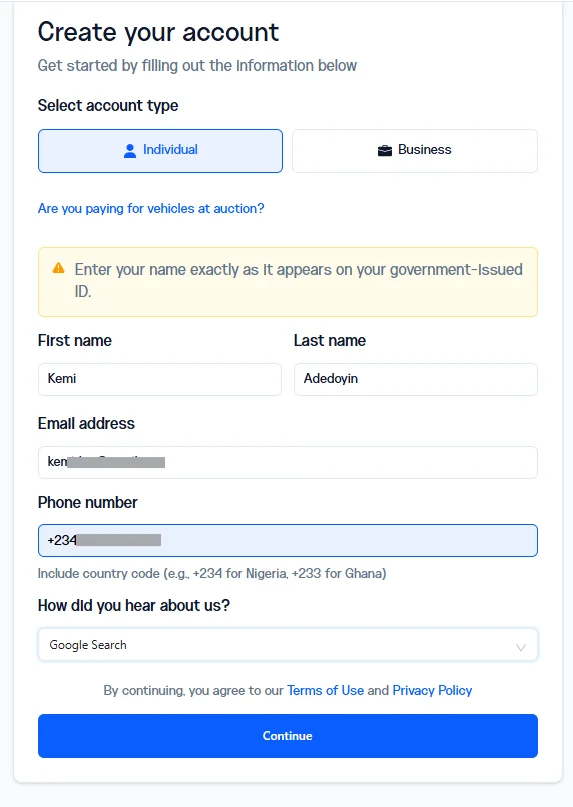
Open the app and tap Get Started. You’ll be asked to choose an account type, select Individual.
Enter your legal first name and last name exactly as they appear on your government-issued ID. Input your phone number and email.
Important: If you pay for vehicles at auction, make sure the name you enter here matches the name on your auction platform profiles (Copart, IAAI, etc.). If it doesn’t match, your payments may not process successfully.
Once your name is in, tap Continue.
Step 2: Email Verification
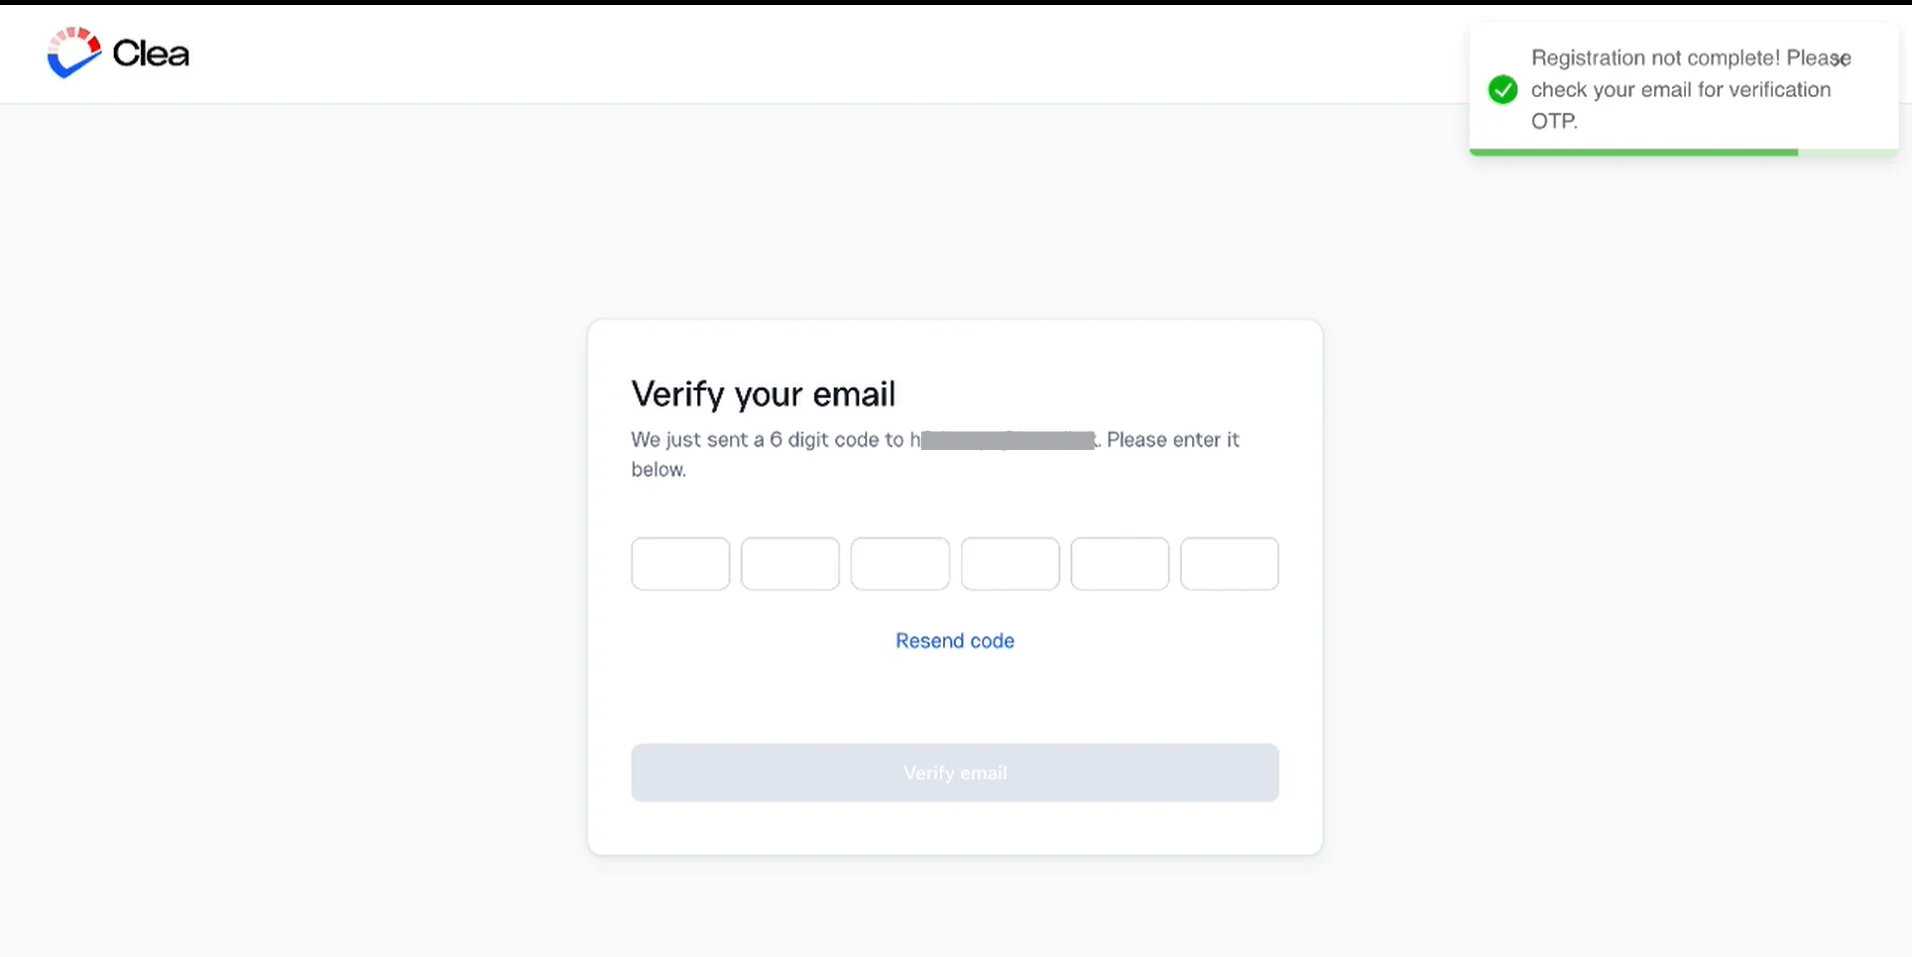
You will receive a 6-digit code to your email. Head to your inbox, copy the code, and enter it to confirm your email address.
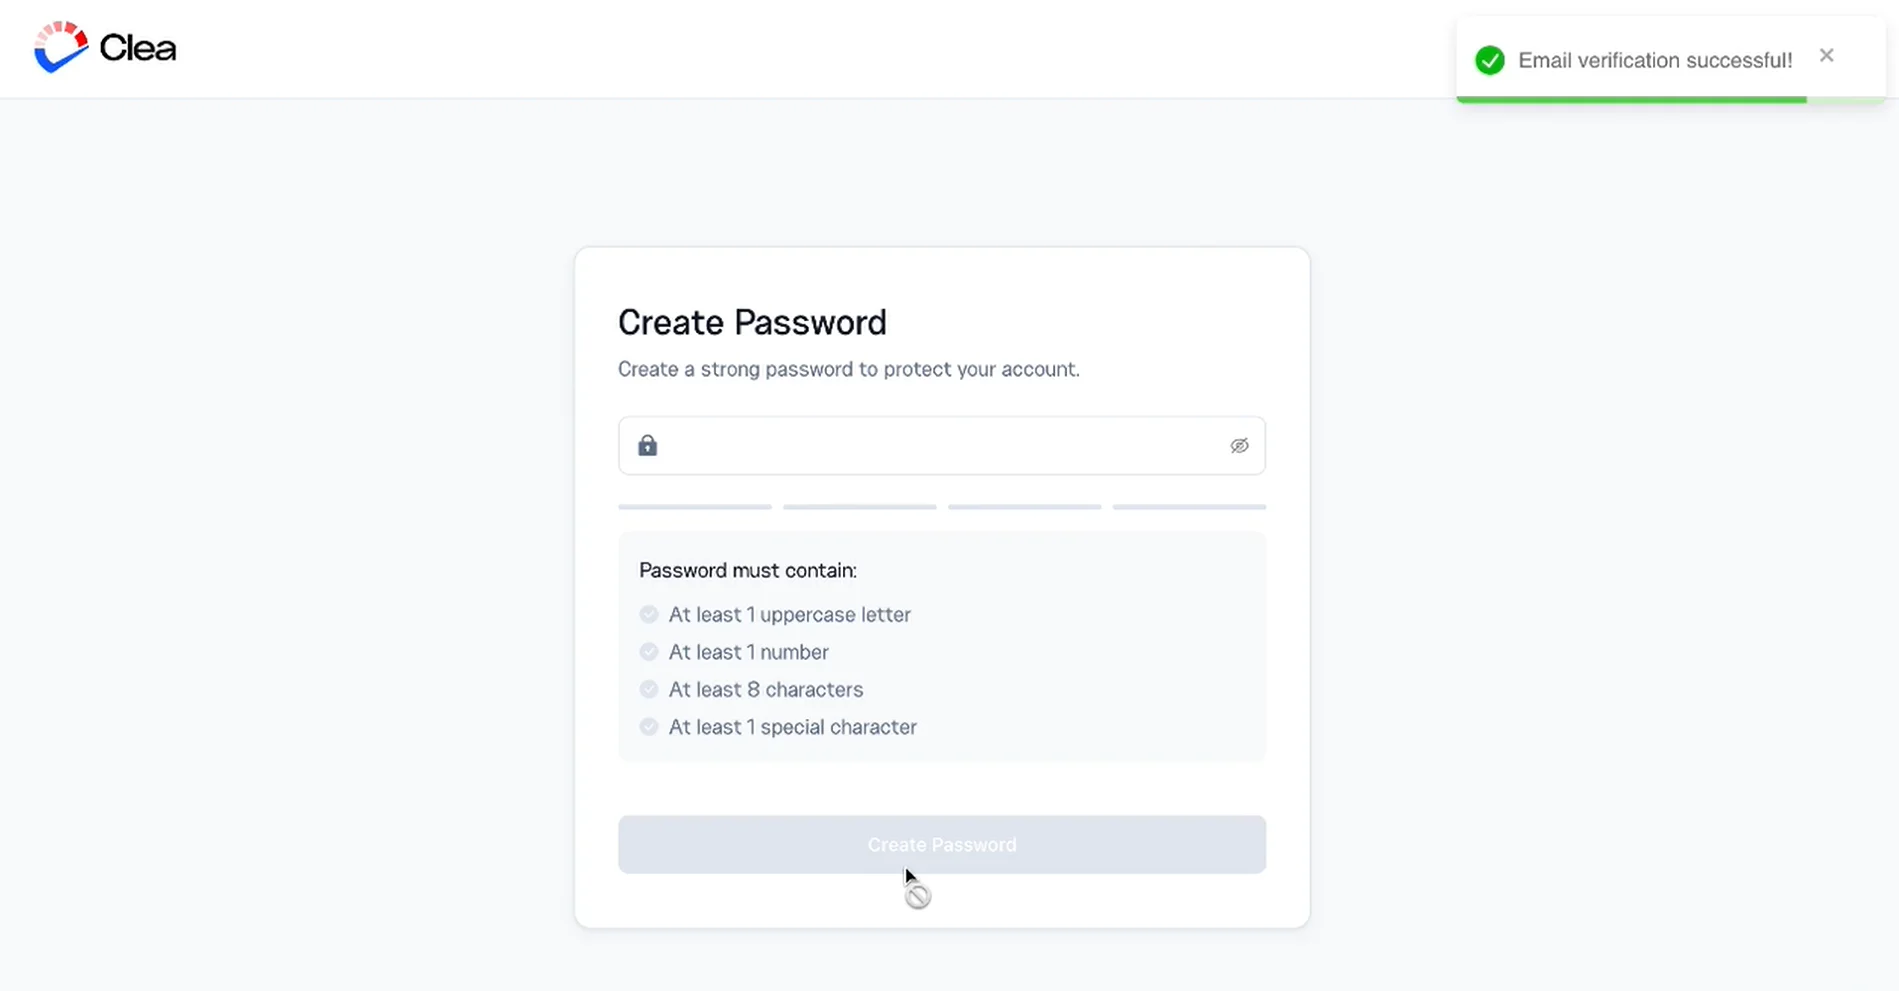
Step 3: Create a Secure Password
Next, create a password for your account. Keep it strong and secure. Avoid using simple, predictable combinations or anything someone could easily guess.
Here’s a guide for creating a strong password.
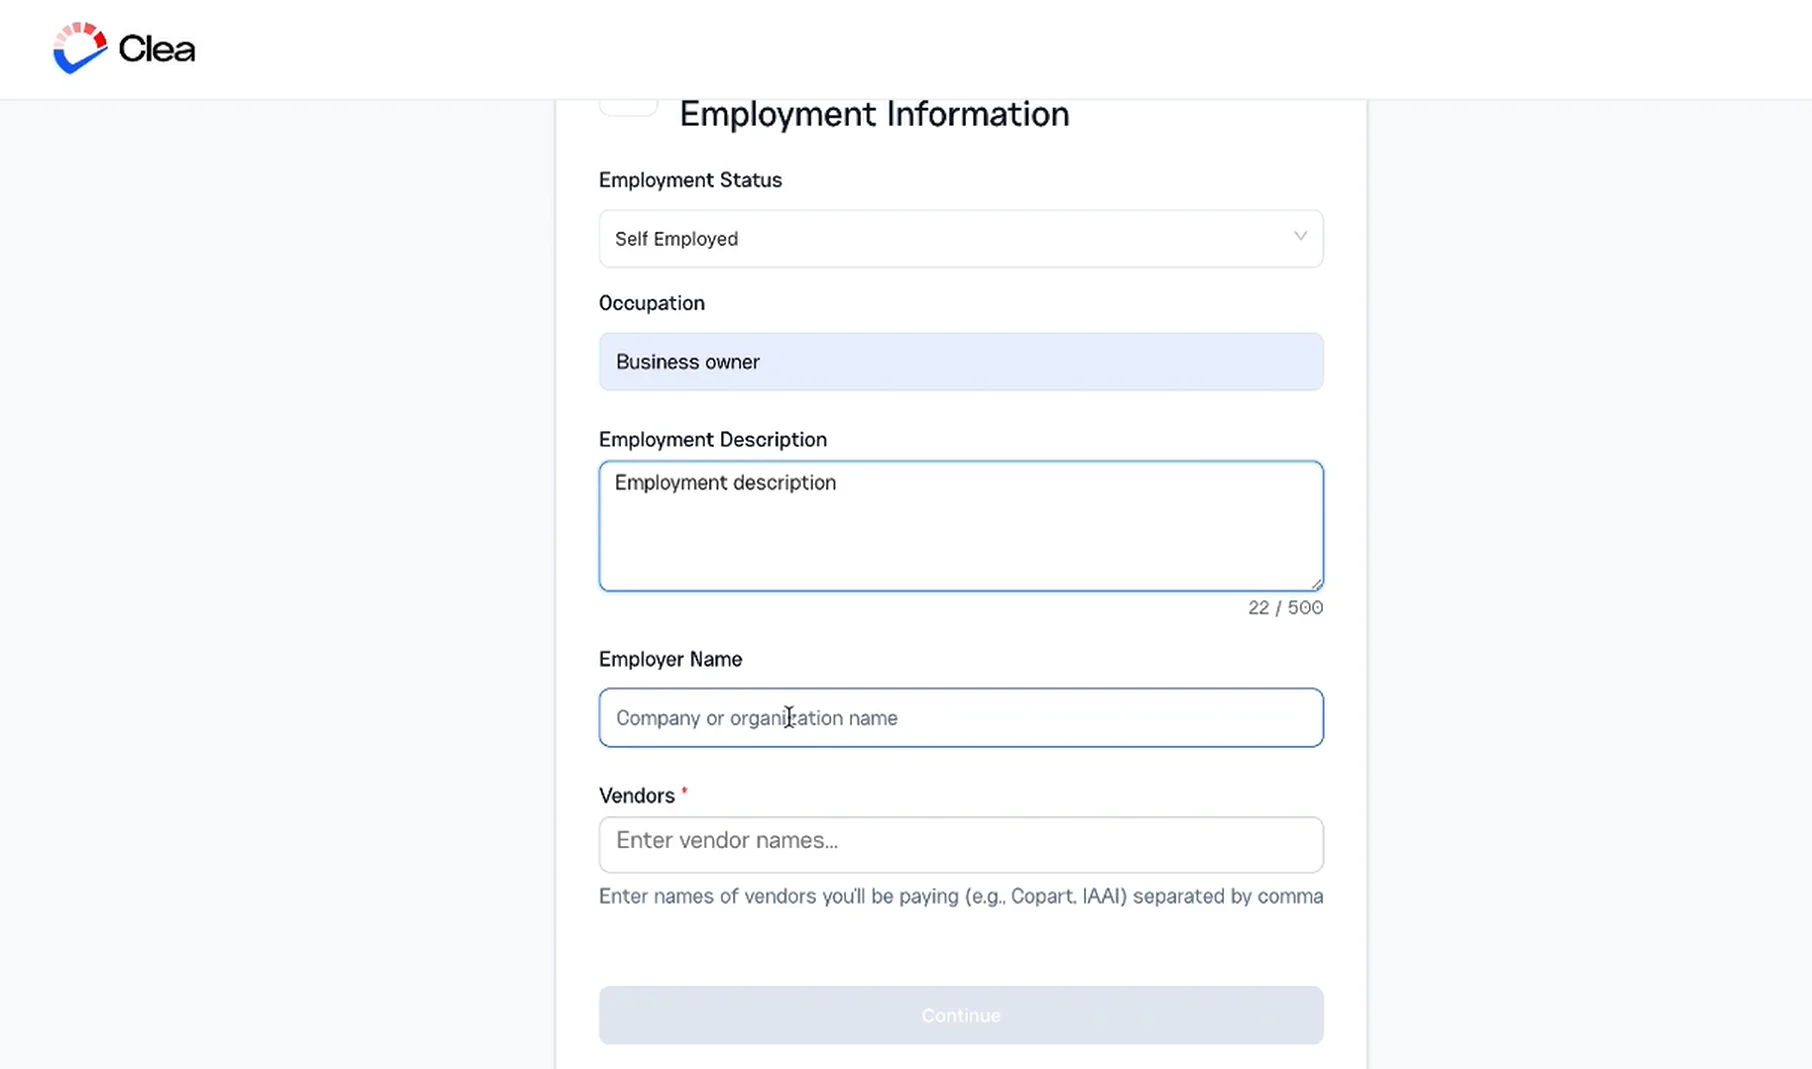
Step 4: Add Your Employment Details
Provide some basic information about your work. You’ll need to select your employment status (employed, self-employed, or unemployed), enter your occupation and employer name, and add the vendors you order from, for example, Copart or IAA.
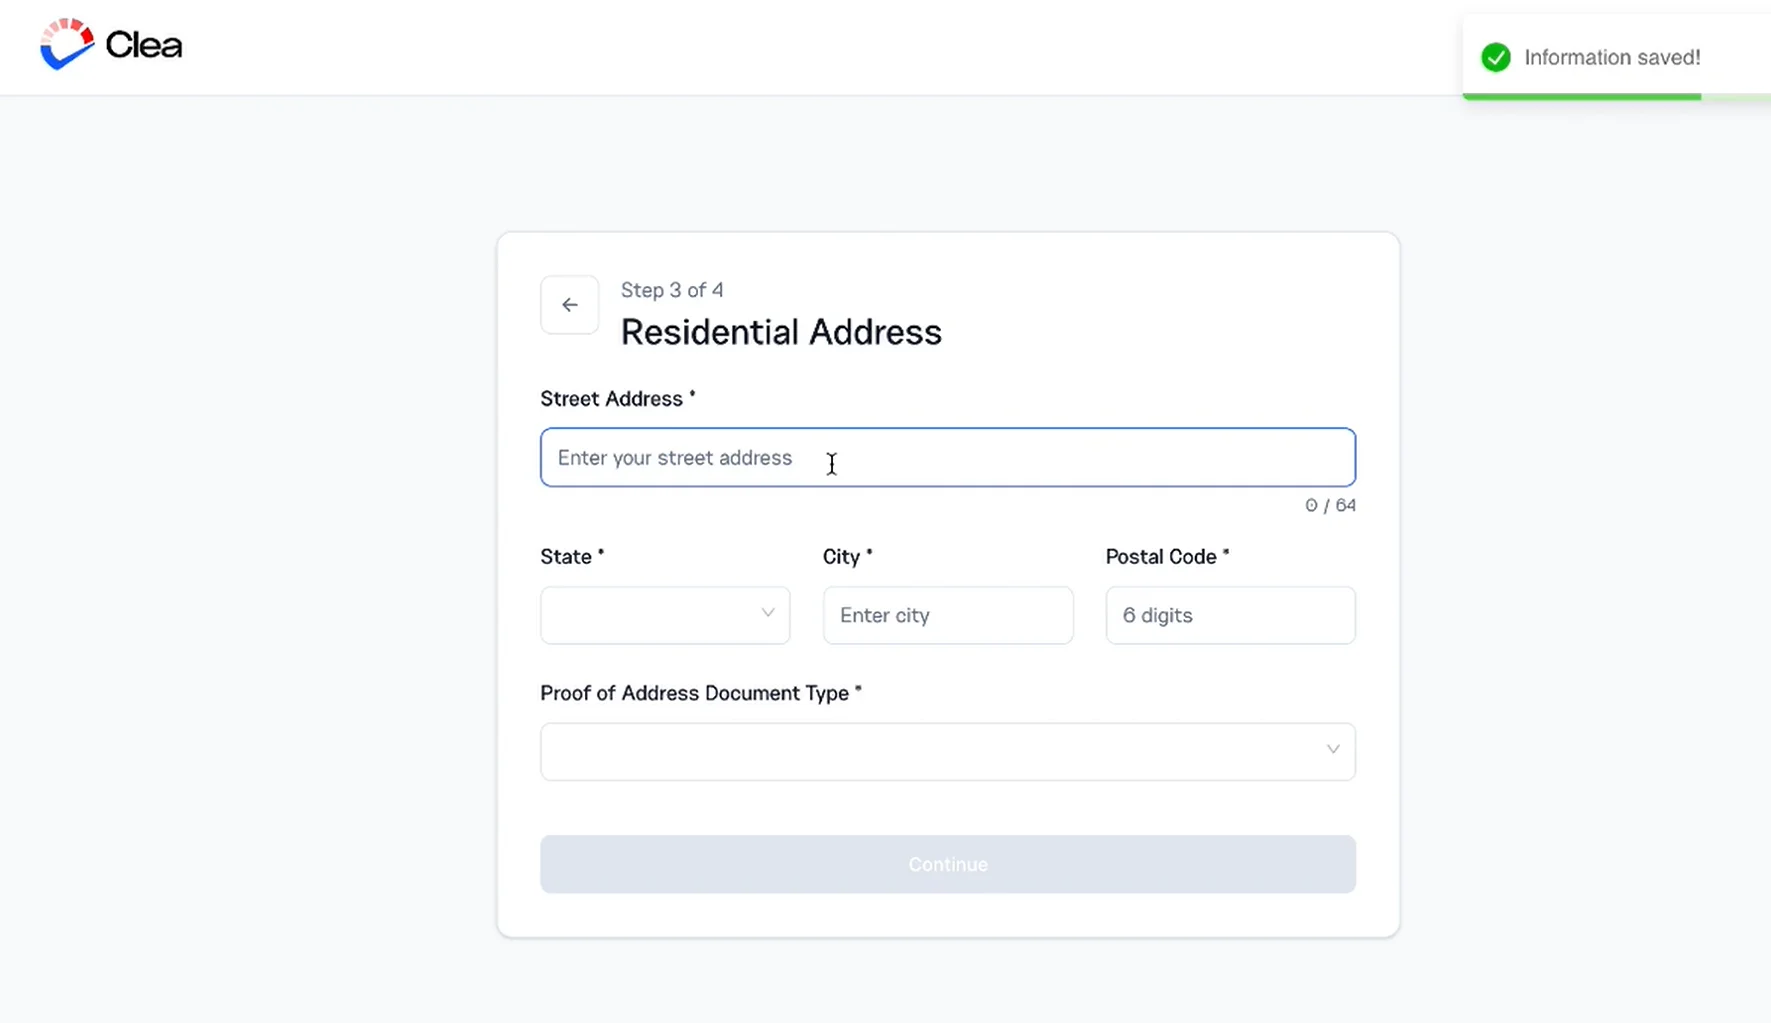
Step 5: Provide Your Residential Address
Enter your current home address, then upload a valid proof of residence. This could be a utility bill, a bank statement, or any official document that clearly shows where you live. Make sure it’s not older than 3 months and clearly show your name and address.
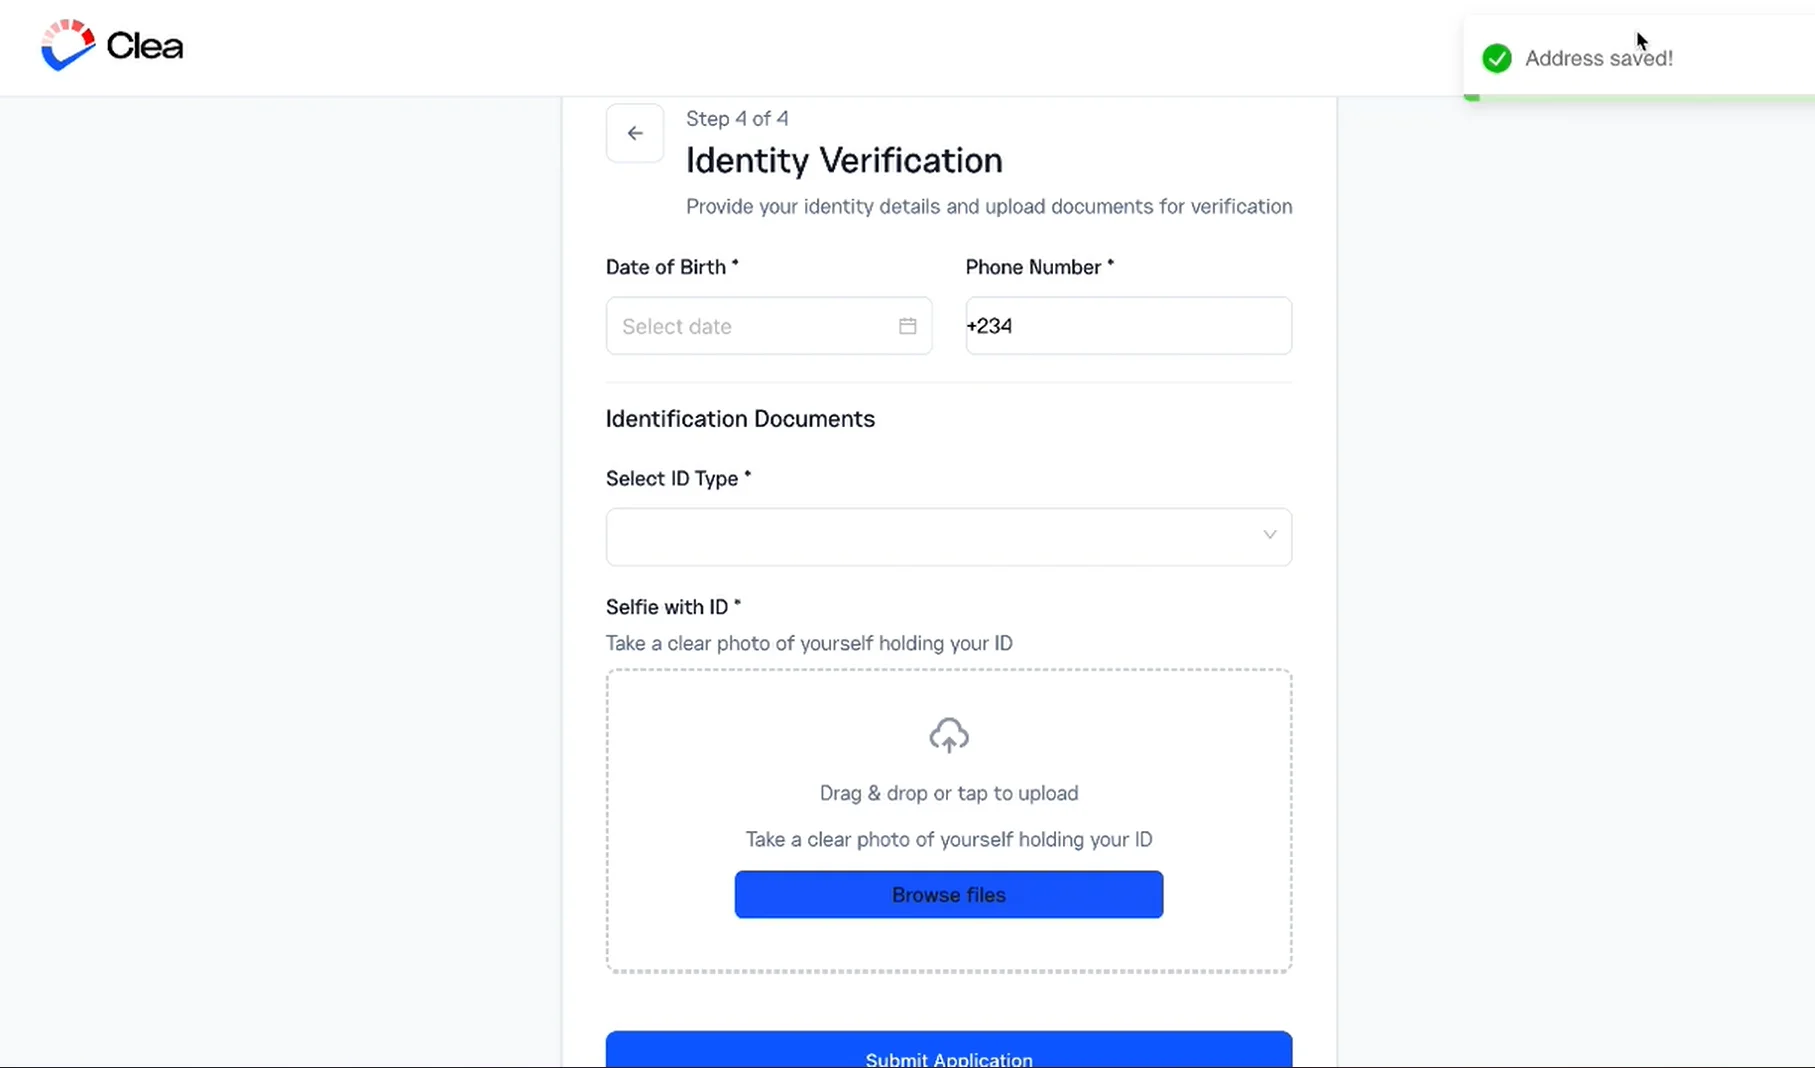
Step 6: Verify Your Identity
You’ll need to provide your date of birth, phone number, and then upload a valid proof of ID.
You have two options here. If you’re using an international passport, enter your passport number and upload a clear photo of the bio-data page. If you’re going with your NIN, enter the 11-digit number and upload a screenshot of the NIN slip or card.
If your NIN doesn’t verify successfully, double-check that you’ve entered the correct 11 digits. You can confirm your NIN by dialling *346# from the phone number you used to register it (this costs ₦20 from your network provider).
After that, enter your BVN to complete verification. To quickly retrieve your BVN, simply dial *565*0# on the mobile phone number linked to your bank account. This USSD service works across all networks (MTN, Airtel, Glo, 9mobile) and typically costs a service fee of ₦20.
Once everything is submitted, you’ll land on a success page. From here, Clea’s team reviews your documents. This typically takes anywhere from 1 to 2 days, depending on how complete and clear your uploads are.
You’ll get a notification once your account is verified and ready to use.
One quick tip: Blurry or poorly lit images are the most typical reason for review delays or document resubmissions. Take an extra second to make sure your documents are legible before uploading, and you’ll save yourself the wait.
After approval, your account is fully set up. You can fund your wallet, convert to USD, and make seamless international payments.
If you encounter an error while setting up your individual account, reach out to us at [email protected].